Is your student seeming to understand tongue placement for the R sound but having difficulty achieving enough tension for a clear, tight R sound? This is the post for you.
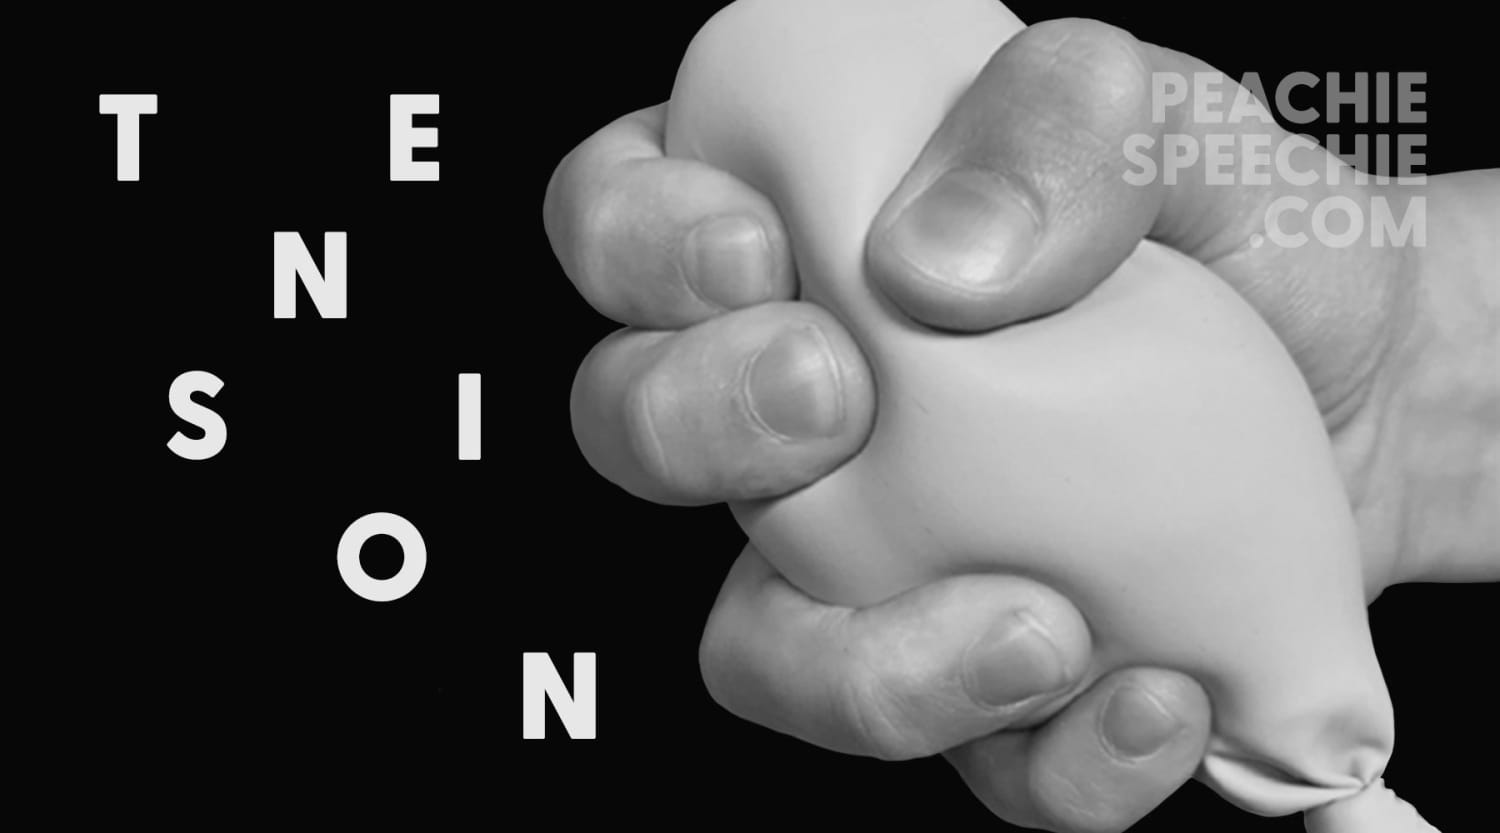
In order to have a clear R sound, tension is so important!
I’m always telling my students to pull their tongue back, bunch it up, and make it tight. But what if they don’t quite understand that tension piece?
Here are some ways to teach it that have worked for me over the years:
-
Tense Body, Relaxed Body. Explain that the tongue is a muscle and you can make it tight just like the other muscles in the body. I use words like strong and tight to explain it. Then, I show them what it looks like to have a tense body with my eyes squinting, nose wrinkled, fists clenched, arms tense. Then I relax my body. Then, I have them do it with me!
-
Squishy Toy. Get a “slow rise” squishy toy. Have your student squeeze it with their hand and then watch it slowly return to its original shape. This is a way to illustrate tensing and relaxing muscles. Then, have them squeeze the toy as they practice their R sound as a reminder to make their tongue tense. You can prompt them “squeeze your tongue tighter” as they practice.
-
Balloon Tongues. Fill a balloon with flour. I suggest a pink or red balloon to look more tongue-like. Hold the balloon with your palm down (balloon toward the floor) and squeeze the balloon as you pull it back with your fingers. This illustrates the backward movement of the tongue and also the tension needed. I’ve got a detailed video on this technique here and it’s also featured in my workbook, I Can Say the R Sound.
-
Rubber Bands. Have your student hook a rubber band on their right thumb and use three left fingers to pull back as they practice saying the R sound. They’ll feel the tension on the rubber band which can remind them that they need tension in their tongue.
-
Resistance Band. Similar to the rubber band method, but using a large resistance band. You hold one end of the band and have your student grab the other end with both hands and pull back as they practice. This uses a bigger motor movement, which I’ve found helpful for some children.
- Chair Grab. Have them sit in a sturdy chair (not a rolling desk chair) and grab the sides of the chair seat. When they say the R sound, have them pull upward on the chair seat. This illustrates the lifting motion of their tongue lifting up and touching the inner back molars and also lets them experience tension in their arms. Tell them you want them to have that tight feeling in their tongue as well.
So there you have it! Five ways to help your student increase tongue tension for that tricky R sound.
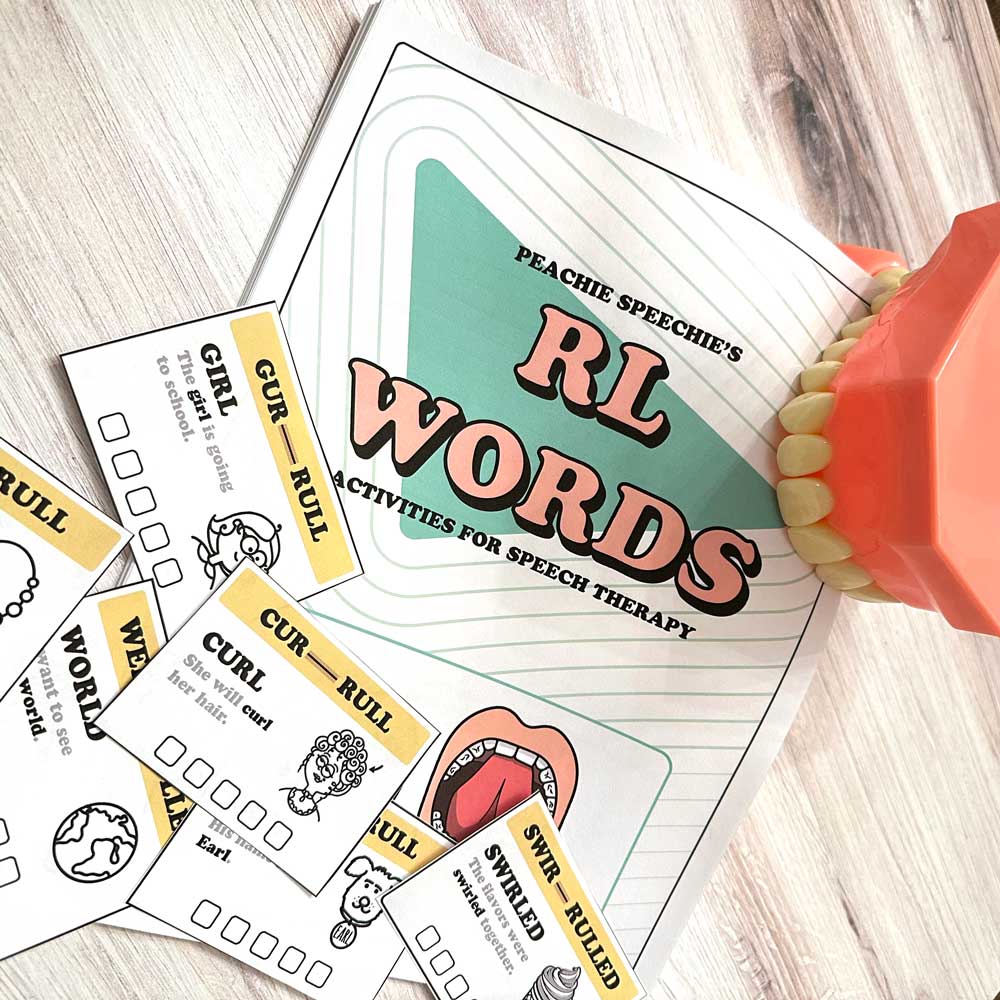
Need more help with the R sound? I’ve got you. I wrote a whole workbook for teaching the R sound that I swear by called I Can Say the R Sound!
I also have step-by-step videos for bunched and retroflexed R that have been incredibly helpful. So be sure to check those out!
❤︎ Meredith
Thanks for reading the Peachie Speechie blog! Be sure to subscribe to our newsletter at the bottom of the page so we can keep in touch. 💌


